Editor Workspace
The workspace is your home base in BeeGraphy - where you manage models, assets, teams, plugins, and published content.

The Editor Workspace - model grid, sidebar navigation, and search toolbar.
Step 1. Go to beegraphy.com and click Sign Up.
Step 2. Enter your email and create a password.
Step 3. Confirm your account via the verification email.
Step 4. Log in to access your Workspace dashboard.
Need help? See the full registration guide →

Workspace Home
The Workspace is the control page you land on after logging in. From here you access all your models, assets, teams, and plugins. Click the logo button at the top to return to the main platform page at any time. The notification button shows alerts relevant to your Editor activity.
Search & Sorting
Use the search field to find models by name. The sort button organizes models by different criteria:
- Alphabetical: arranges models in A-Z order.
- Date Created: sorts by creation time.
- Last Modified: sorts by last edit time.
- Newest First: puts the most recently created models on top.
- Oldest First: shows the earliest created models first.
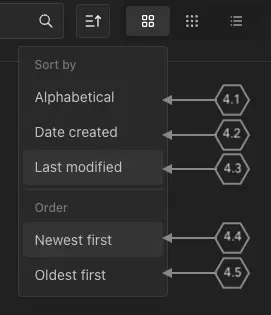
Sort criteria
Display Views
Three view modes for browsing models: Grid (large thumbnails), Small Grid (compact thumbnails), and List (table view). Toggle between them using the buttons in the toolbar.
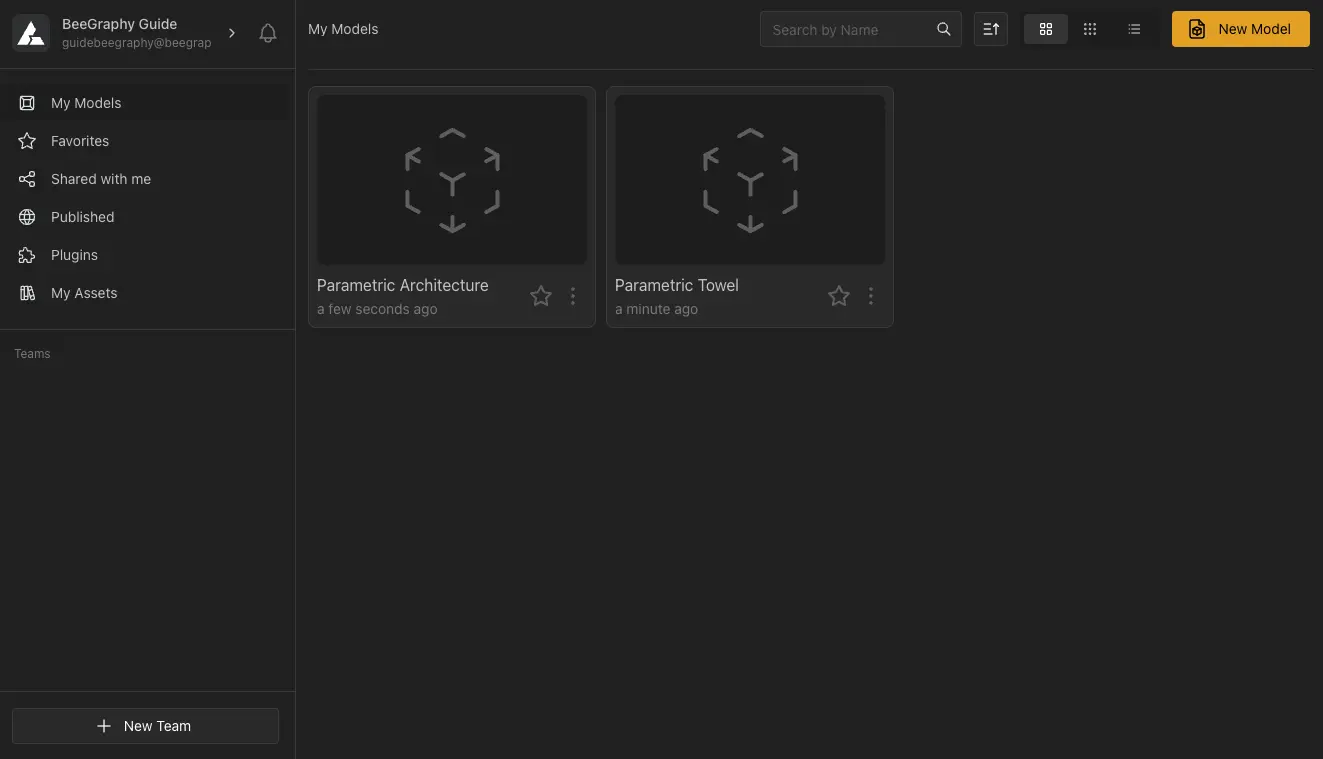
Grid
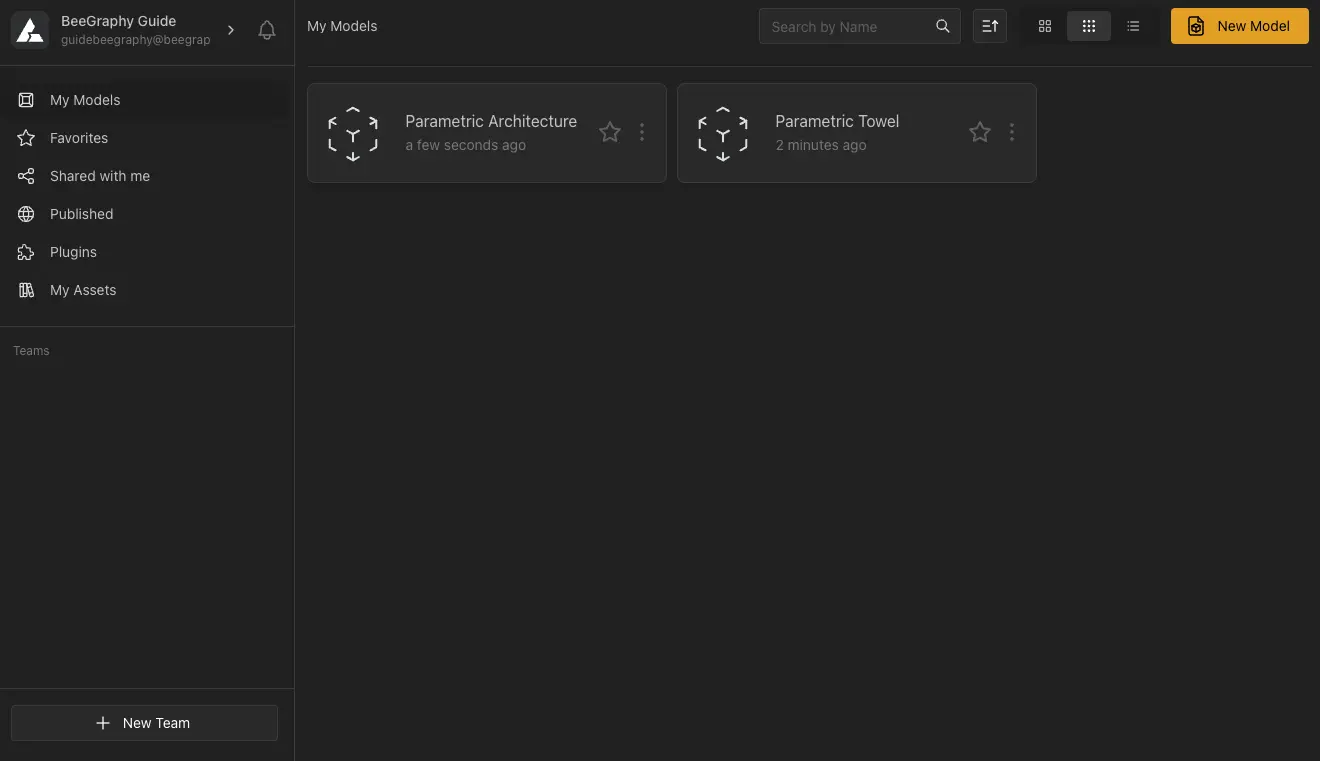
Small Grid
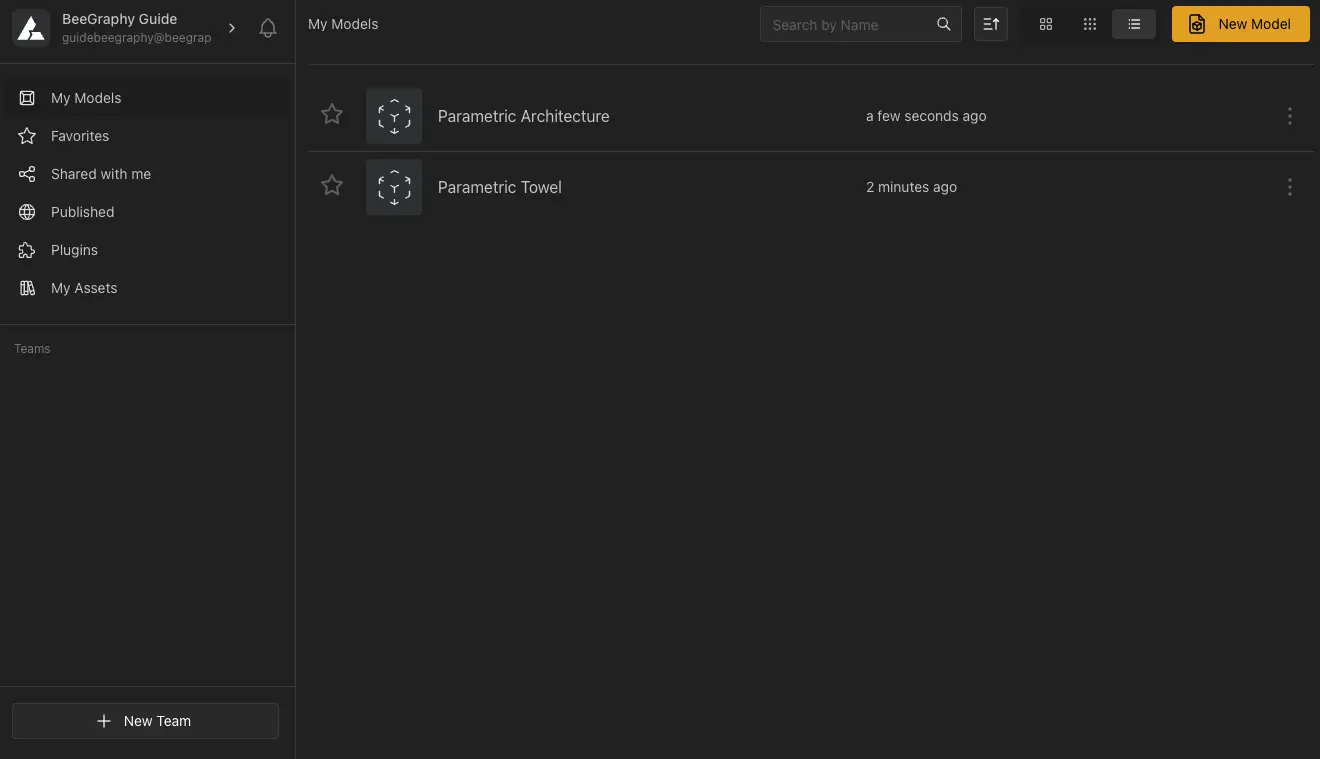
List
Models
The main area of the Workspace shows your models. Click "New Model" to create a new parametric model and open it directly in the Editor canvas.
Sections
Favorites
Models you've marked as favorites appear here for quick access.
Shared with Me
Models shared by other users. Shows the sharer's name. Open in Editor, Demo, or Configurator mode. View who else has access via the Share button. Use Leave to remove your access.
Published
Models you've published to the Marketplace. Initially appear under the Non-Moderated filter until approved by a moderator. Use the Republish button to push corrections after approval.
Plugins
Manage your plugins - view, edit, and publish. See the Plugin Development docs for details.
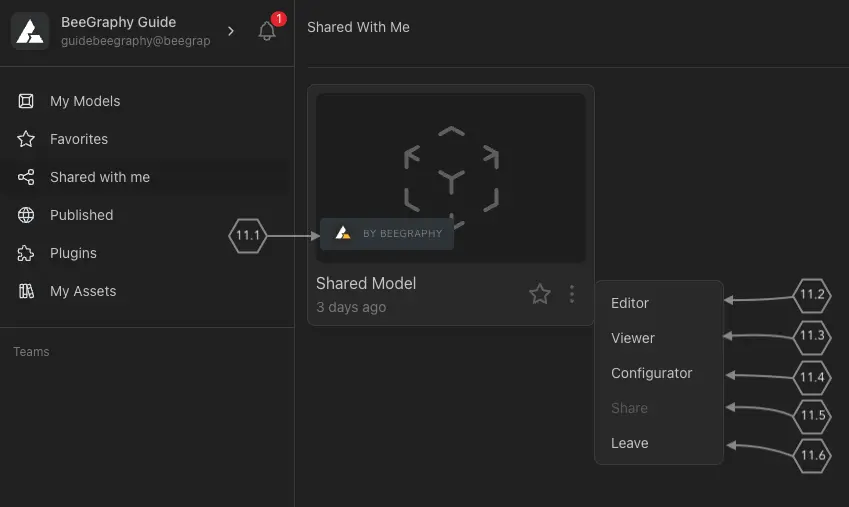
Shared with Me
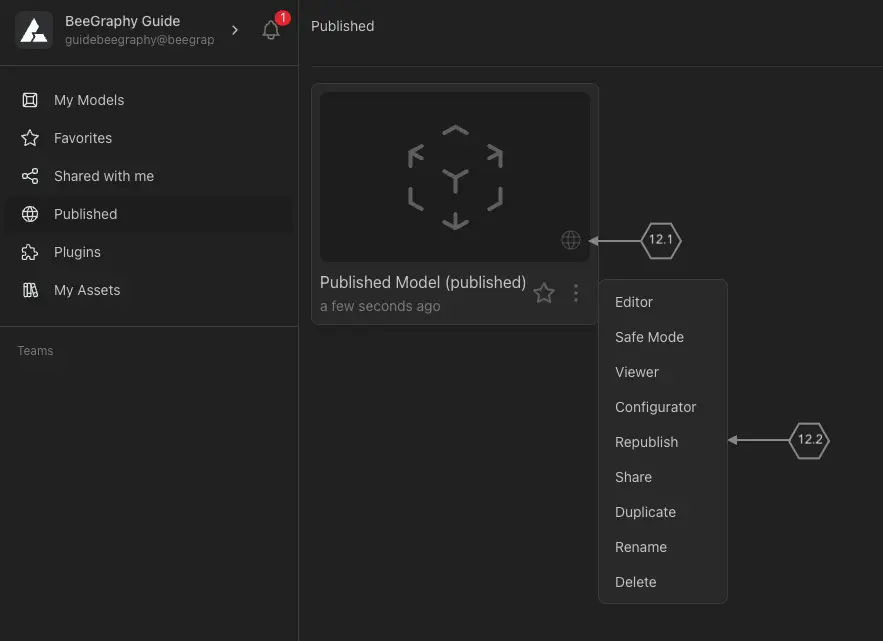
Published
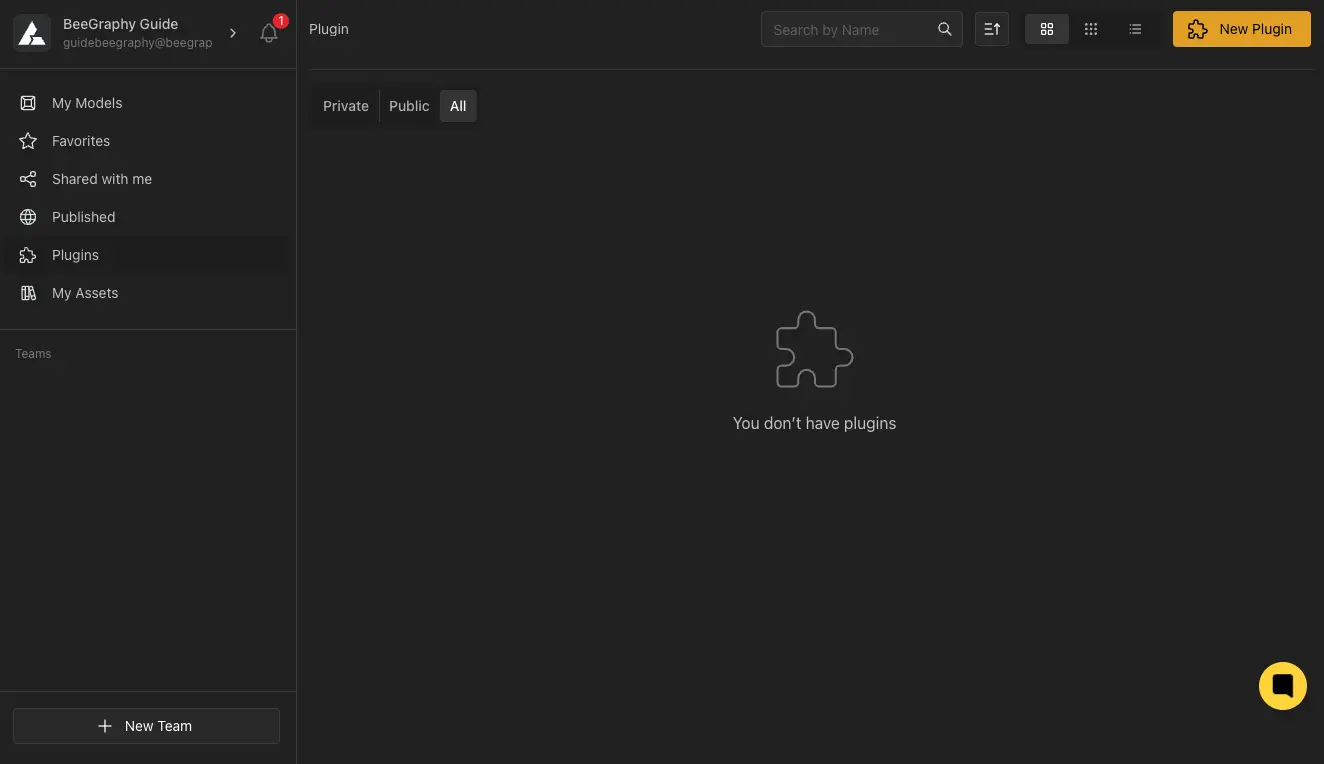
Plugins
Shared Model Actions
When a model is shared with you, the access role you're given determines what you can do:
Viewer
Read-only access - view the model and its parameters, no changes.
Inspector
Explore the canvas and inspect nodes, but changes aren't saved.
Commentor
Leave comments on the model without editing it.
Editor
Full access to the node graph - create, edit, and delete nodes.
Configurator
Adjust parameters - changes are saved to the file.
My Assets
The Assets section is where you upload and manage resources used across your models: Fonts, Vector Graphics, Images, Objects 3D, Textures, and Scenes. Each type has its own section with a dedicated upload button. An "All Assets" view shows everything together.
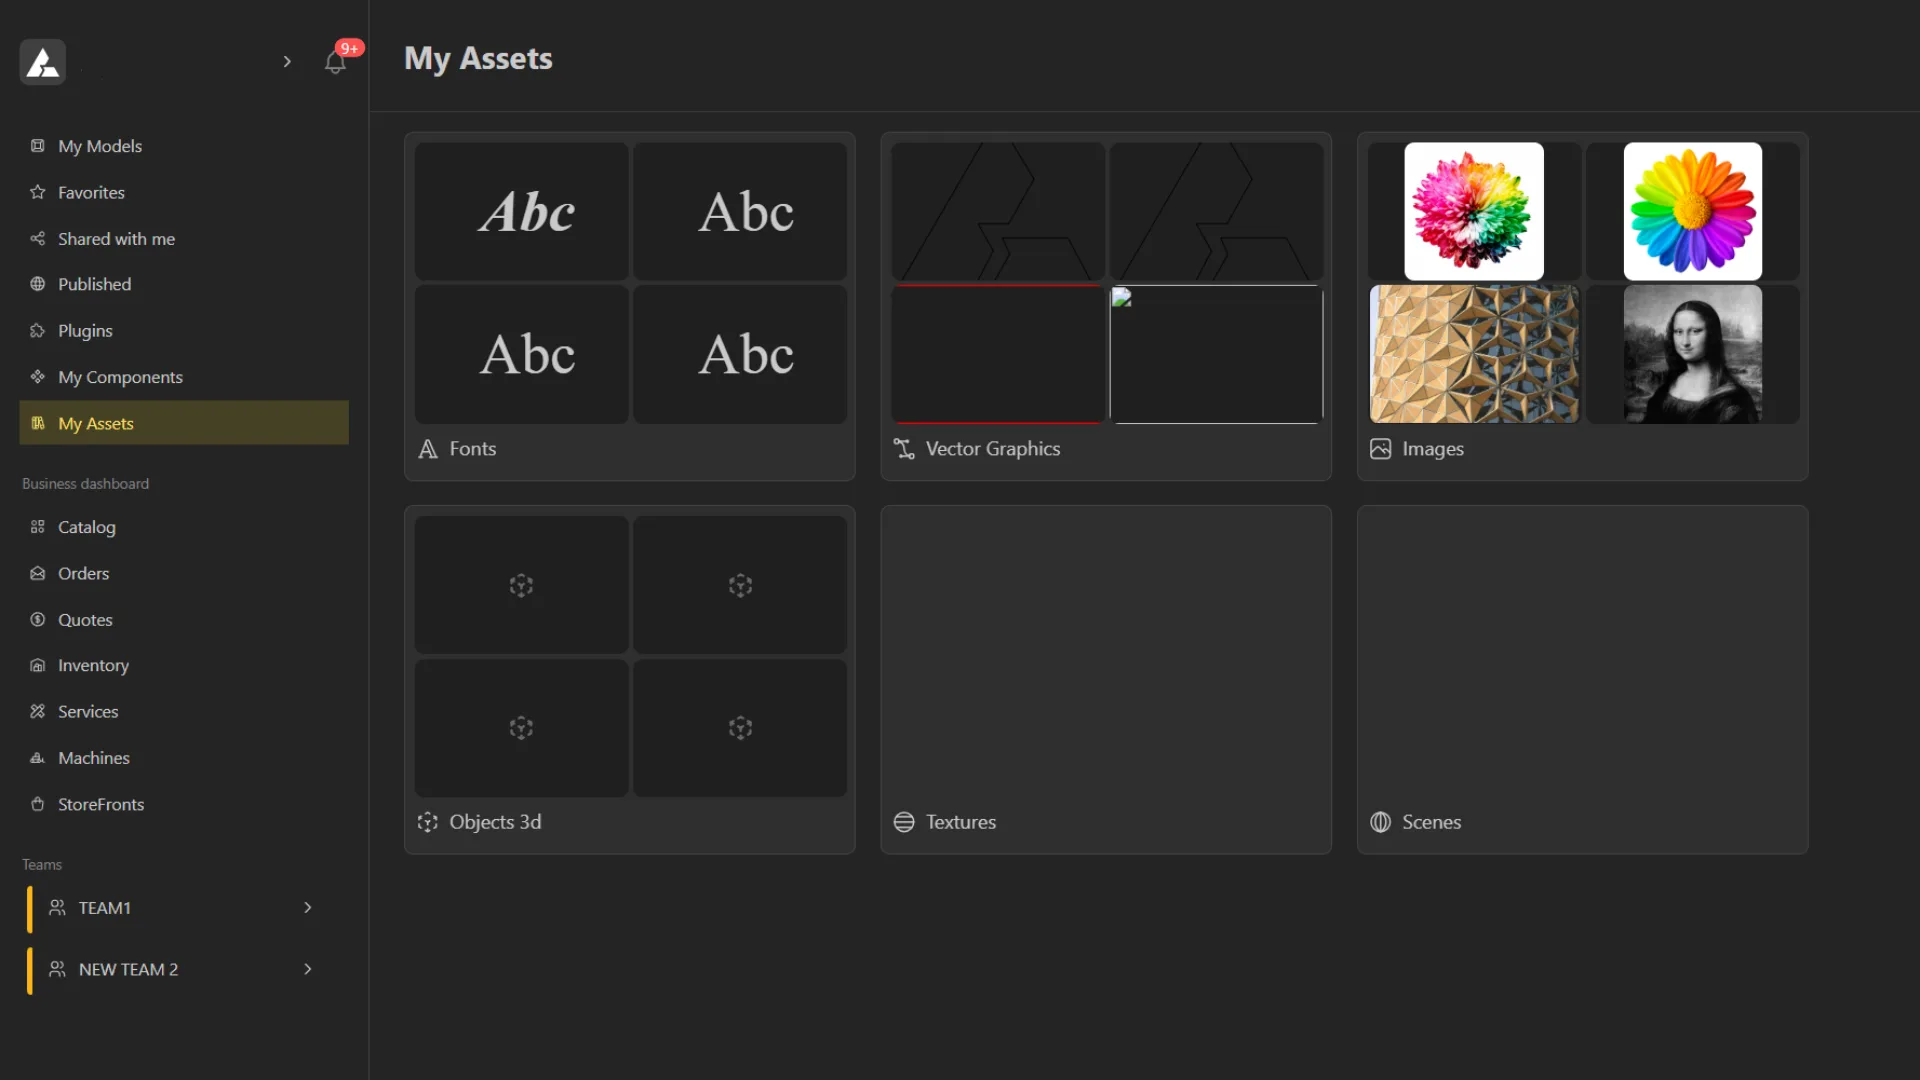
The Assets section
Teams
The Teams section shows teams you've created and teams you've been invited to. Teams let you organize models and collaborate with specific groups of people.
Creating a Team
Click "New Team" in the Teams section.
Enter a team name in the dialog that appears.
Click "Create" to confirm. The team appears in your Teams list.
Team Settings
Open Team Settings to modify the team name, add a description, and adjust the team color for visual identification. The Delete Team button permanently removes the team - you'll be prompted to type the team name to confirm deletion.
Managing Members
Click "Add Members" to invite users by email. The email must match their BeeGraphy account. Each invited user is assigned a role. You can change roles after invitation, and the activity column shows whether a user is Active or Pending. Use the Remove button to revoke a member's access.
Member Roles
Viewer
Limited access. Can view models and adjust dimensions/parameters but cannot alter nodes or the graph structure.
Editor
Full access. Can edit nodes, modify the graph, and has complete control over projects and models within the team.
Business Dashboard
The Business Dashboard is where creators become sellers. Build and manage product catalogues, handle orders and quotes, track inventory, offer services, and publish storefronts - all from one place. Full guide →
Dashboard Sections
Catalogue
Add and organize sellable models. Import from your Workspace, Market, Vault, or by Model ID.
Orders
View and track customer orders in real time.
Quotes
Create and manage quotation requests. Send formal price offers to customers.
Inventory
Track stock, availability, and production status.
Services
Add services like installation or custom work. Track fulfillment and analytics.
Storefronts
Publish configurators and embed them on your website.
Adding Products to Catalogue
Navigate to Business → Catalogue → Add. Choose where to import the model from:
Your Workspace
Add any model you've created in the Editor.
Market
Select production-ready models from the Marketplace.
Vault
Add previously purchased paid models.
Model ID
Directly enter a model ID to pull it into the catalogue.
Once a product is added, click it to open in Configurator Mode - the same view your customers will use to customize and purchase the product.
Quotes → Orders Workflow
A quotation is a formal price offer for a specific product or set of products. It outlines the selected model, pricing, and key details for the customer to review before purchasing.
Create a Quotation - open the Quotes tab, click (+), select the product, enter the customer's name and email. Configure the product in Configurator mode.
Auto-generated Bill - BeeGraphy calculates the final bill based on your configuration selections.
Send Quotation - click Send to share it with the customer for review.
Customer Reviews - the customer checks details, pricing, and terms. They can request edits or approve as-is.
Convert to Order - once approved, the quotation converts to an order and enters the fulfillment pipeline.
Order Processing - production, packaging, or delivery begins depending on your workflow.
Learn More
Editor Canvas
Node graph, geometry, viewport, and shortcuts
→
3D Output Window
Display modes, navigation, settings, and camera controls
→
CAM View
G-code generation for CNC mills and laser cutters
→
Nodes Overview
Node anatomy, port types, and package directory
→
Plugin Development
Build custom TypeScript nodes and publish to BGPM
→