3D View
The real-time 3D viewport in the BeeGraphy Editor. View your model in a fully interactive space - orbit, pan, zoom, inspect geometry, switch display modes, and manage camera positions.

The 3D Output Window showing a parametric model with shaded display mode.
Overview
The 3D View displays the real-time results of your model as you build and adjust it in the node graph. It is the primary output view in the Editor - use it to inspect geometry, verify how parameters affect shape, spot issues, and present your work. The viewport supports multiple display modes, perspective options, and interactive geometry selection.
Navigation
Mouse controls for navigating the 3D space.
Shortcut
Action
Zoom: scroll the mouse wheel to zoom in or out of the geometry.
Rotate: hold the left mouse button and move to rotate the geometry in any direction.
Pan: hold the right mouse button and move to adjust the viewing position.
Resize: hold the left mouse button on the viewport edge and drag to resize the 3D view.
Viewport Controls
Tools available in the viewport toolbar.
- XYZ Axes: coordinate axis directions displayed in the right corner of the viewport for spatial orientation.
- Save Camera Position: lock the geometry's viewing angle. This position becomes the default view when the model is published to Viewer Mode or the Marketplace.
- Zoom to Fit: with a node selected, displays that node's geometry; without selection, displays all geometries. Centers and scales the view to fit.
- Full Screen: view the geometry in full screen. Press the same button again to exit.
Display Modes
Three modes for rendering geometry in the viewport. Select the desired mode from the bottom menu.
- Shaded: lightweight shading, lower memory usage. Different colors represent different surfaces. Best for fast iteration.
- Rendered: higher quality with lighting, reflections, and materials applied. Use for previewing final appearance.
- Shadow: displays geometry with shadow effects to understand depth and form. Two sub-modes: Ground (floor illumination) and Cyclorama (full environment).
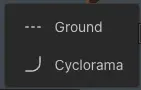
Shadow mode
Perspective Options
Change the viewing direction of the geometry. Access through the Perspective button in the viewport toolbar.
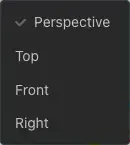
Viewing direction options
- Perspective: free rotation, any direction.
- Top: view from above.
- Front: view from the front.
- Right: view from the right.
Gizmo
The Gizmo is positioned at the top-right corner of the viewport for spatial orientation. It includes clear axis labels, face-based view indicators, and interactive view switching for quick access to orthographic views. A dedicated Viewport Lock prevents accidental view changes during modeling and inspection.
Selecting From Viewer
You can click on any element in the 3D viewport, and the node that produces that geometry will be automatically selected in the node graph. If multiple node outputs overlap at that point, a dropdown menu appears listing all related nodes - select one to navigate directly to it.
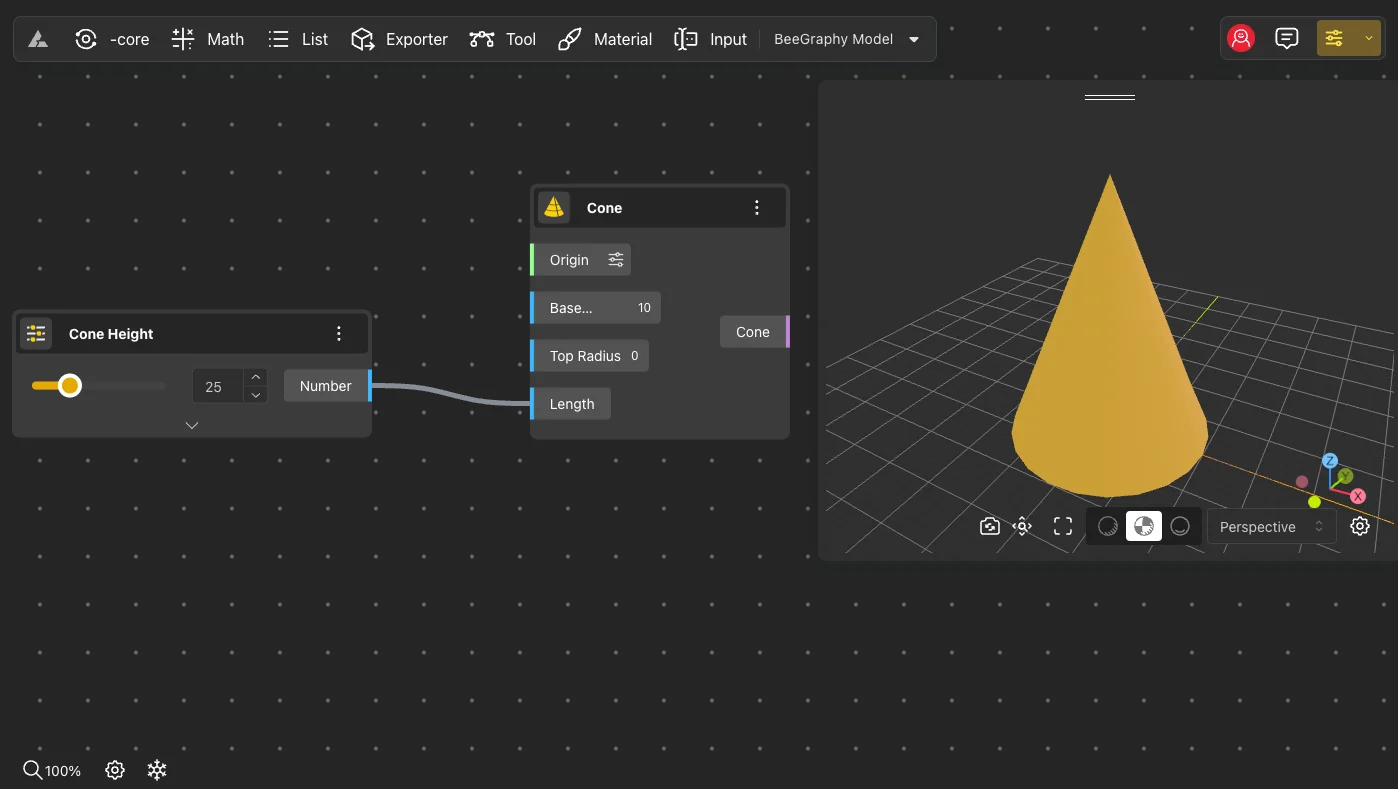
Clicking geometry selects the node that produced it
If the Auto Zoom function (in the lower-left corner) is enabled, the graph view will automatically zoom in to the selected node.
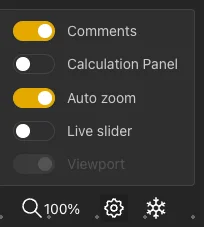
The Auto Zoom toggle
3D View Settings
Toggle these options to control how geometry is visually represented in the viewport. These settings affect visualization only - they do not impact the final output or exported files.
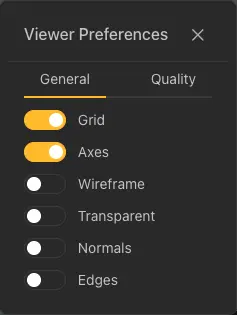
The 3D View Settings panel
- Grid: enable or disable the reference grid (XY plane).
- Axes: show or hide the X, Y axis display.
- Wireframe: display the geometry in mesh/wireframe form.
- Transparent: make geometry see-through to inspect internal parts.
- Normals: visualize the directions of surface normals.
- Edges: highlight sharp and feature edges for clarity.
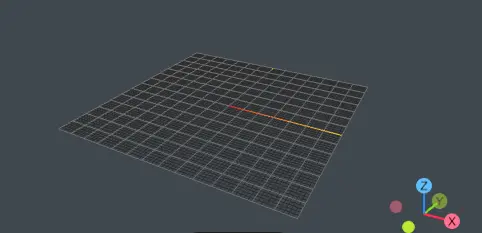
Grid
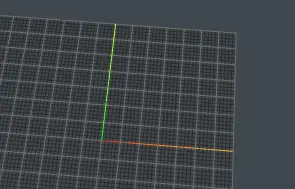
Axes
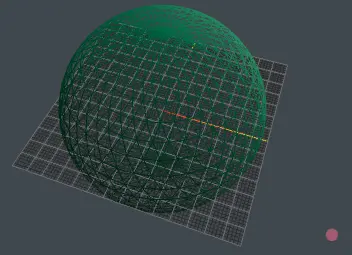
Wireframe
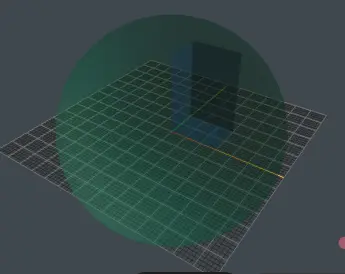
Transparent
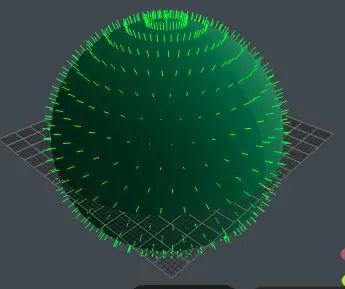
Normals
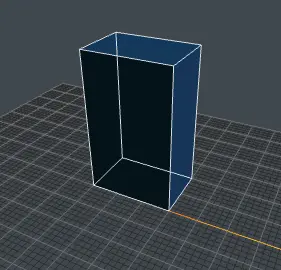
Edges
Camera Ports
Camera Ports give you control over how models are viewed in the viewport and how they appear when published.
- Save Camera Position: store the current camera view. When published, this becomes the default view for anyone opening the model. Useful for presenting models or product configurations from a specific angle.
- Restore Camera Position: return the viewport to the previously saved camera position. Quickly jump back to a defined view while working.
- Clear Camera Position: remove any saved camera view. The model will open using default viewer controls instead of a fixed position.
Learn More
3D Output Window - Help Center
Full step-by-step guide with screenshots and GIFs
→
Editor Canvas
Node graph, geometry tiers, and workspace overview
→
Node Reference
Every node documented - ports, parameters, behavior
→